
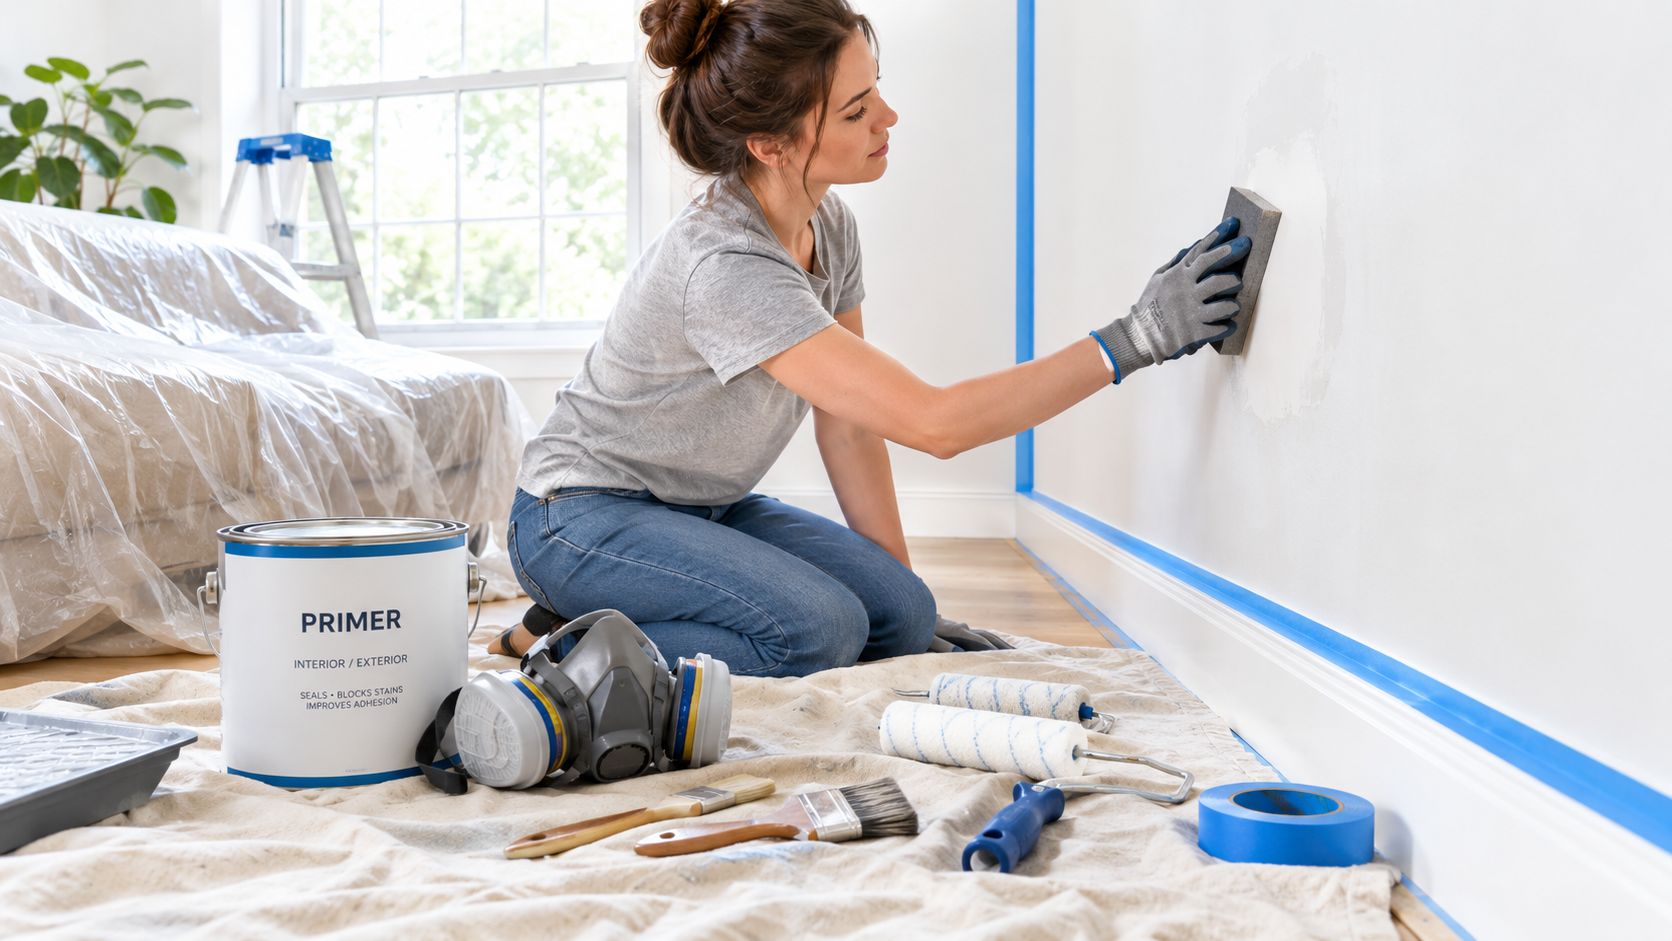
You've chosen the colour, bought the paint, and set aside a weekend. Then you notice nail holes, greasy marks, peeling edges, dusty trim, and a wall that looks far less even under bright light. That's where a durable paint job is won or lost.
The paint preparation process is the work completed before the finish coat. It includes inspection, cleaning, repairs, sanding, priming, protection, and ventilation. Follow the sequence, allow surfaces to dry properly, and the paint has a sound surface to bond to. Rush the preparation, and even good paint can peel, flash, stain, or show every defect underneath.
Table of Contents
- A Quick Overview of the Paint Preparation Process
- Cleaning, Patching, and Sanding Surfaces
- Understanding Why Priming Matters
- Masking, Protection, and Ventilation
- Essential Tools and Timeline Checklist
- When to Call in Professional Help
A Quick Overview of the Paint Preparation Process
A reliable workflow moves from dirty and damaged surfaces to clean, sound, coated ones. Each stage supports the next, so painting over an unresolved problem usually creates a more visible problem later.
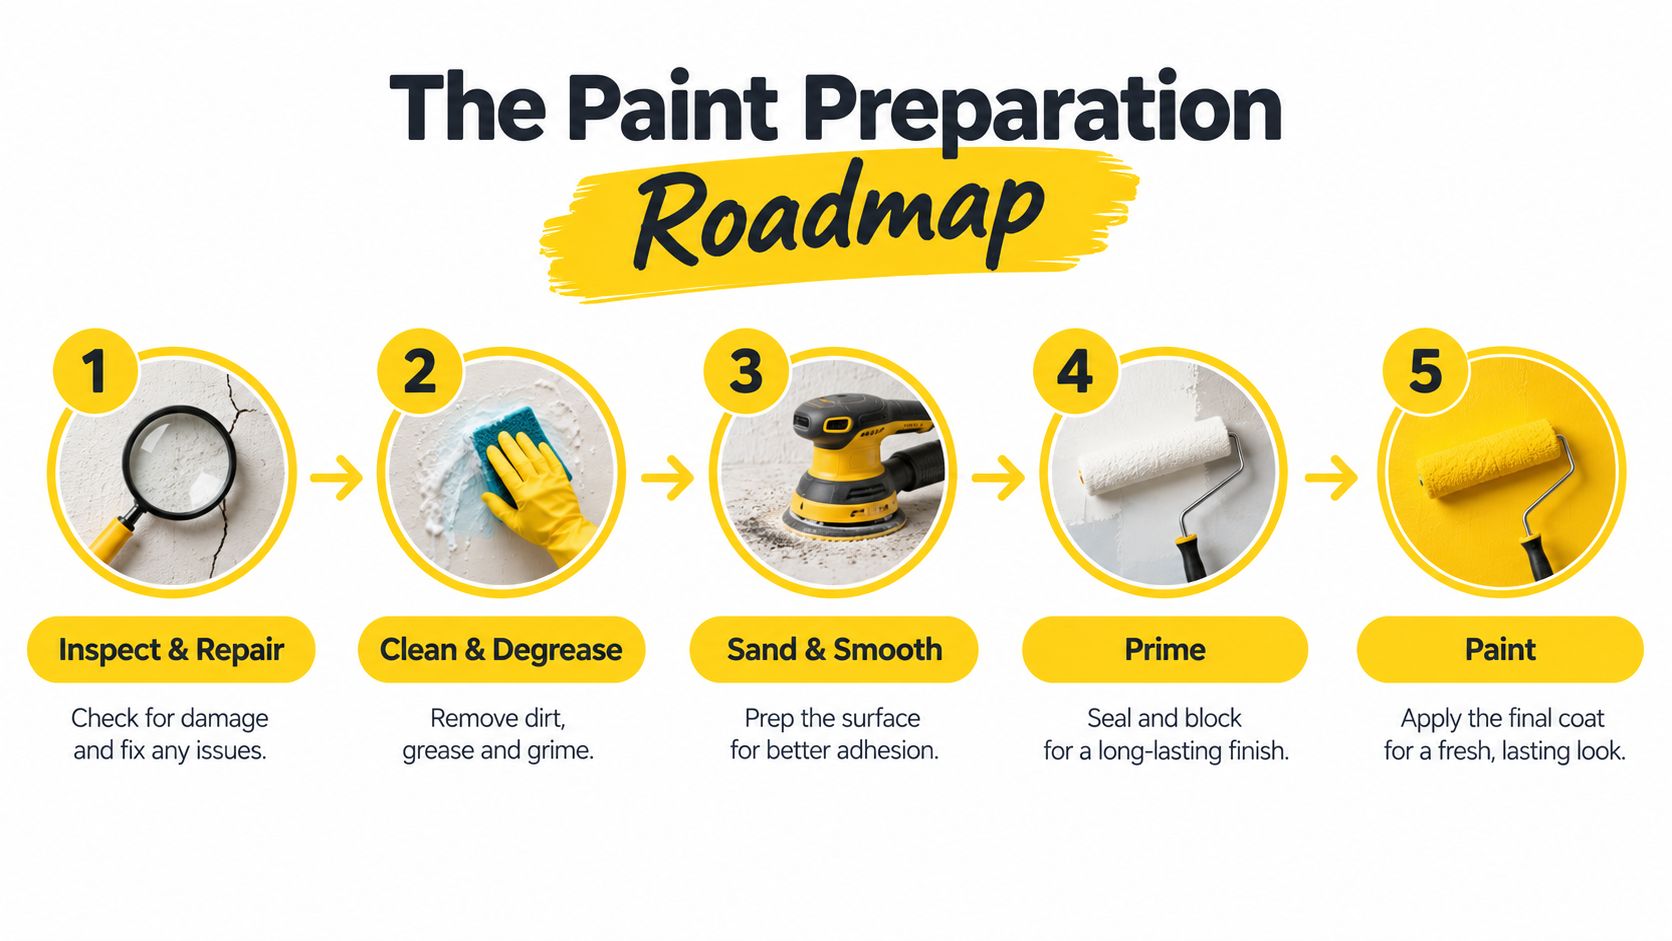
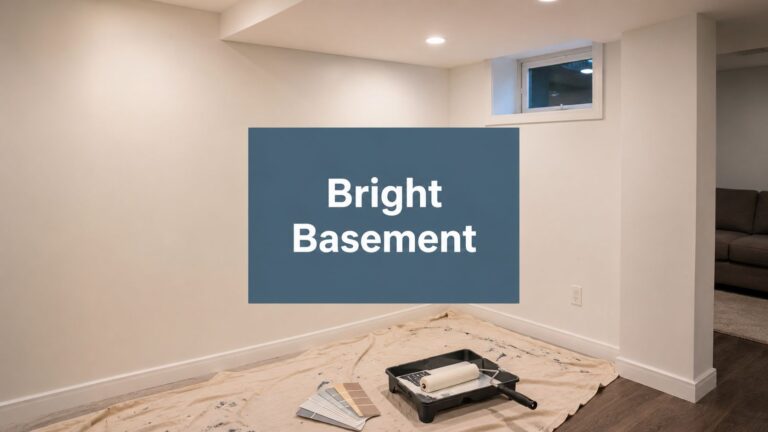
Clear and protect the room. Move furniture away from the walls, remove switch plates where practical, and cover floors and anything that can't be moved. This gives you room to inspect and keeps dust, cleaner, and paint off finished surfaces.
Inspect before touching the surface. Look for peeling paint, cracks, holes, water staining, mildew, loose caulking, chalking, rust, and damaged drywall or wood. Check the cause of the damage, not only the visible mark. A recurring leak or damp area needs attention before coating.
Clean and degrease. Remove dust, dirt, grease, smoke residue, and other contaminants. Paint needs a surface that's clean and dry, and Canadian federal guidance says preparation methods should match both the selected paint system and the substrate. Canadian guidance on matching preparation to the surface and paint system
Repair and sand. Fill holes, cracks, dents, and open joints with a suitable repair product. Once dry, sand repairs flush and dull glossy areas enough to improve adhesion without unnecessarily removing sound paint.
Prime where the surface needs it. Bare drywall, raw wood, repaired areas, stains, dramatic colour changes, and slick surfaces often need a specific primer rather than another coat of finish paint.
Inspect under strong light. Run your hand over the wall and view it from several angles. Remove sanding dust, correct ridges or pinholes, and confirm that repairs are dry before applying paint.
Cleaning, Patching, and Sanding Surfaces
Cleaning isn't one universal task. A bedroom wall may need dust removal and spot washing, while kitchen cabinets need thorough degreasing. Exterior siding may need mildew treatment and careful washing, and metal may need rust removal or a compatible solvent wipe.
Match the cleaning method to the substrate
Start with a vacuum fitted with a brush attachment or a clean microfiber cloth. For washable surfaces, use a mild detergent solution and a clean sponge or cloth, changing the water when it becomes dirty. Canadian public-sector painting specifications call for removing dust and debris, washing with biodegradable detergent and warm water, rinsing until foreign matter is flushed away, and allowing the surface to dry thoroughly before primer or paint. Canadian interior painting preparation specifications
Drywall: Remove dust, then wash only where needed. Don't saturate gypsum board or leave a glossy detergent film.
Wood: Remove dirt and grease, then inspect for raised grain, rot, loose joints, and failing caulking. Let washed wood dry completely.
Cabinets: Use a dedicated degreaser or suitable detergent, especially around handles, doors, and cooking areas. Cleaning services that focus on pre-cleaning can provide useful context for affordable commercial sanitizing when a commercial space needs more than routine dusting.
Metal: Remove oil, loose rust, and flaking coating. Wipe away residue and use a primer designed for the remaining metal condition.
Exterior surfaces: Treat biological growth appropriately, rinse carefully, and avoid driving water behind siding or into vulnerable joints.
For a room-by-room method, see Soca Services Painting's guide to cleaning a wall before painting.
Repair before sanding
Use the repair material that suits the damage. Lightweight spackle works for small drywall nail holes, while deeper damage may need setting compound or a more durable patching system. Wood filler is appropriate for many small wood defects, but it isn't a substitute for repairing rotten wood or loose trim.
Press filler firmly into the defect, slightly overfill where necessary, and let it dry according to the product directions. Sand the repair flush, then check it by touch. Your fingertips often find a ridge that your eyes miss.
Sand for adhesion, not destruction
Sanding removes loose edges, smooths repairs, and gives glossy coatings a finer surface for mechanical grip. Use a sanding block or pole sander on broad walls, detail sanding pads around trim, and dust extraction where available.
Glossy trim usually needs careful dulling rather than aggressive stripping. Previously painted surfaces should be sanded where they're rough, peeling, or shiny, but sound paint doesn't need to be removed just because it's old. Vacuum and wipe away dust after sanding. Primer or paint applied over sanding residue can form a weak, gritty film.
Understanding Why Priming Matters
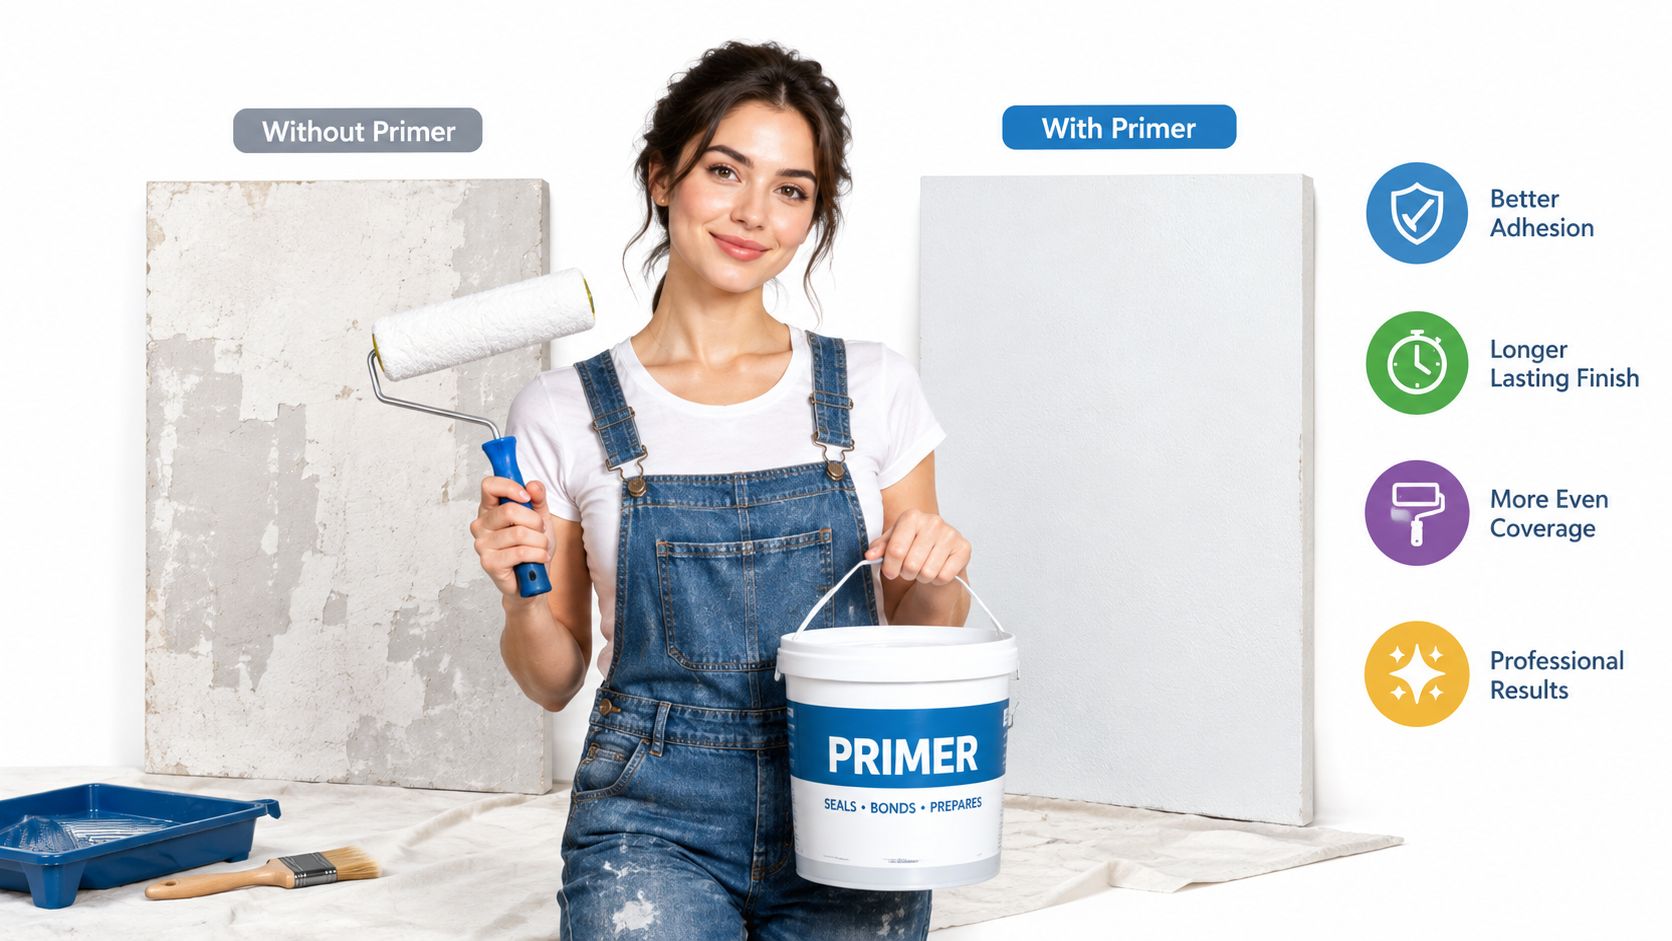
Primer isn't automatically required on every wall, but skipping it without assessing the surface is a common way to create uneven colour, poor adhesion, or stain bleed. The right primer changes the surface behaviour. It seals porous areas, blocks contaminants, improves bonding, and helps the finish coat develop a consistent appearance.
Primer decisions at a glance
| Surface or condition | Preparation focus | Primer choice |
|---|---|---|
| Bare drywall or joint compound | Remove dust and seal porous areas | Drywall sealer or suitable wall primer |
| Raw wood | Smooth, clean, and check for defects | Wood primer suited to the coating system |
| Water or smoke staining | Clean and resolve the source first | Stain-blocking primer |
| Glossy trim or laminate | Degrease and dull the surface | Bonding primer |
| Repaired patches | Sand flush and remove dust | Primer to even out absorption |
Primer should also fit the finish product and local requirements. The Canadian federal painting guidance linked earlier stresses that preparation methods should be selected for the substrate and paint system, not treated as a generic routine. For a deeper explanation of the product's role, see what primer paint is used for.
A practical exception matters: if an existing surface is clean, dry, sound, and compatible with the new coating, extensive sanding and unnecessary primer may add labour without improving the result.
Masking, Protection, and Ventilation
A clean paint job protects the home before the first roller is loaded. Move furniture out where possible, cover remaining items, and use floor protection that won't slide underfoot. Canvas drop cloths are useful for floors because they stay in place and absorb small spills, while plastic sheeting works well for furniture and larger protected zones.
Masking is most effective when the surface is clean and the tape is pressed down firmly along the edge. Don't rely on tape to correct a dusty, loose, or wet surface. Remove it according to the paint system's instructions, ideally before a heavy film becomes difficult to cut cleanly.
Protect the details
Baseboards and trim: Run painter's tape along the edge, then press the tape down with a clean putty knife or fingertip.
Windows and hardware: Cover glass, hinges, handles, and latches. Remove hardware when doing so won't damage the fixture or interrupt its adjustment.
Floors: Extend protection beyond the immediate wall area, especially where sanding or spraying can spread dust.
Cabinet interiors: Seal openings and label doors if they've been removed, so reassembly doesn't become a guessing exercise.
Vent covers: Remove or cover grilles, and don't paint over moving parts or electrical components.
Ventilation deserves the same attention as masking. Open windows where weather and security allow, and place a fan in one window exhausting outward. Use another opening on the opposite side of the room to create cross-ventilation, rather than just moving dusty or solvent-laden air around the space.
Sanding creates airborne dust, and chemical cleaners can add vapours. Wear eye protection, gloves suitable for the product, and respiratory protection selected for the hazard and used according to its instructions. Brushing or rolling can reduce airborne release compared with spraying in situations where that method is appropriate, as noted in Ontario workplace guidance on controlling exposure.
Air-quality check: If you can smell strong vapour throughout the home, see dust hanging in the air, or feel irritation in your eyes or throat, stop and improve ventilation before continuing.
For a practical explanation of paint vapours and indoor air, read Soca Services Painting's guide to what VOC means in paint.
Older homes require extra caution. Canadian lead-safety guidance warns that scraping and sanding can create fine dust that may contain lead in homes more than 20 years old, and lead dust is particularly hazardous to babies and young children. Canadian lead-safe painting guidance Don't dry-sand suspected lead paint casually. Arrange appropriate testing and lead-safe controls before disturbing it.
Essential Tools and Timeline Checklist
A good preparation day starts with the right tools on site. Missing equipment encourages shortcuts, especially when a wall has already been washed and the project is running late.
Build the kit
Inspection and repair: Bright work light, scraper, putty knives, caulking gun, compatible filler, and replacement caulking.
Cleaning: Vacuum with brush attachment, microfiber cloths, buckets, sponges, detergent, degreaser, and clean rinse water.
Sanding: Sanding blocks, pole sander, detail pads, dust extraction, and a dustpan or vacuum for final cleanup.
Protection: Canvas drop cloths, plastic sheeting, painter's tape, masking paper, and labels for removed hardware.
Safety: Safety glasses, gloves, suitable respiratory protection, hearing protection when using powered tools, and stable access equipment.
Application: Quality brushes, roller frames, sleeves suited to the surface, paint trays, extension poles, and clean storage containers.
Schedule by conditions, not wishful thinking
A small room may move through the stages quickly if the surface is already sound. A kitchen, damaged hallway, exterior wood, or occupied commercial space needs more coordination because cleaning, repairs, drying, and access all affect the schedule.
| Stage | What must be true before continuing |
|---|---|
| Inspection and repairs | Damage is identified, and repair materials have cured |
| Cleaning | Dirt, grease, and residue are removed |
| Drying | The surface feels dry and shows no damp patches |
| Sanding | Repairs are smooth, edges are feathered, and dust is removed |
| Priming | The selected primer suits the substrate and problem |
| Painting | Protection is secure, ventilation is working, and the surface passes final inspection |
For finish-coat timing, use the product label and this guide to how long paint takes to dry.
When to Call in Professional Help
DIY preparation makes sense for sound, accessible surfaces and manageable repairs. Bring in a professional when you find extensive peeling or suspected lead paint, recurring moisture damage, difficult high areas, extensive wood repair, steel corrosion, or a commercial space that must remain operational.
Soca Services Painting handles surface preparation, including patching, sanding, caulking, priming, and related repairs. Review the company's professional painting services when the preparation is too extensive, hazardous, or time-sensitive for a DIY schedule.
Soca Services Painting can assess the surfaces, complete the cleaning and repairs, prime where the substrate requires it, and protect your home throughout the job. Visit Soca Services Painting to request a free estimate and discuss the paint preparation process for your Toronto or GTA property.